

 I much prefer attaching bindings by machine for many of my quilts. Competition quilts I do by hand (however if I thought I could do it by machine all bets would be off.) I started binding by machine when making quilted tote bags, trying to finish by hand through the quilted suede would have just been hard on my hands. Yes I do have a very good thimble, 2 of them actually however there time made a huge difference.
I’m showing the dual feed feature engaged first. The link is to a video on the dual feed feature on BERNINA’s YouTube channel. The dual feed keeps the binding and quilt moving together under the foot. Keeping the layers together while piecing and quilting makes for a better quilt overall. To use the dual feed it’s important to note that there is a need for the correct feet. Shown here is the #37D – the D feet are needed whenever wanting to use the dual feed as there is a notch in the back of the foot that the dual feed slides into, there is a set of feed dogs that the dual feed works with to evenly feed the fabric or quilt under the needle.
 For this quilt I’m applying the binding to the back and will bring it around to the front. I cut binding strips 2 inches wide. Yes dear quilters this is very narrow. My own personal preference is for narrow binding. The 2″ when folded over just covers the stitching line from applying the binding. Yes, yes, it’s a bit of a calculated risk but to me it’s worth it. If you’re not comfortable with 2″ binding cut it at your width. Just a side note a few years ago I finally wrapped my brain around making bias binding with those tubes and wrote a tutorial on it. Well, after a long conversation with Paula Reid and some experimenting I generally use cross grain binding as well. Cross grain yields longer strips, I can piece them on the dfabric.
When I start stitching I leave a good tail so that when I get to the end to join the pieces I have something to work with. On a large quilt I start in the middle of a side, on a small quilt I start stitching near the corner.
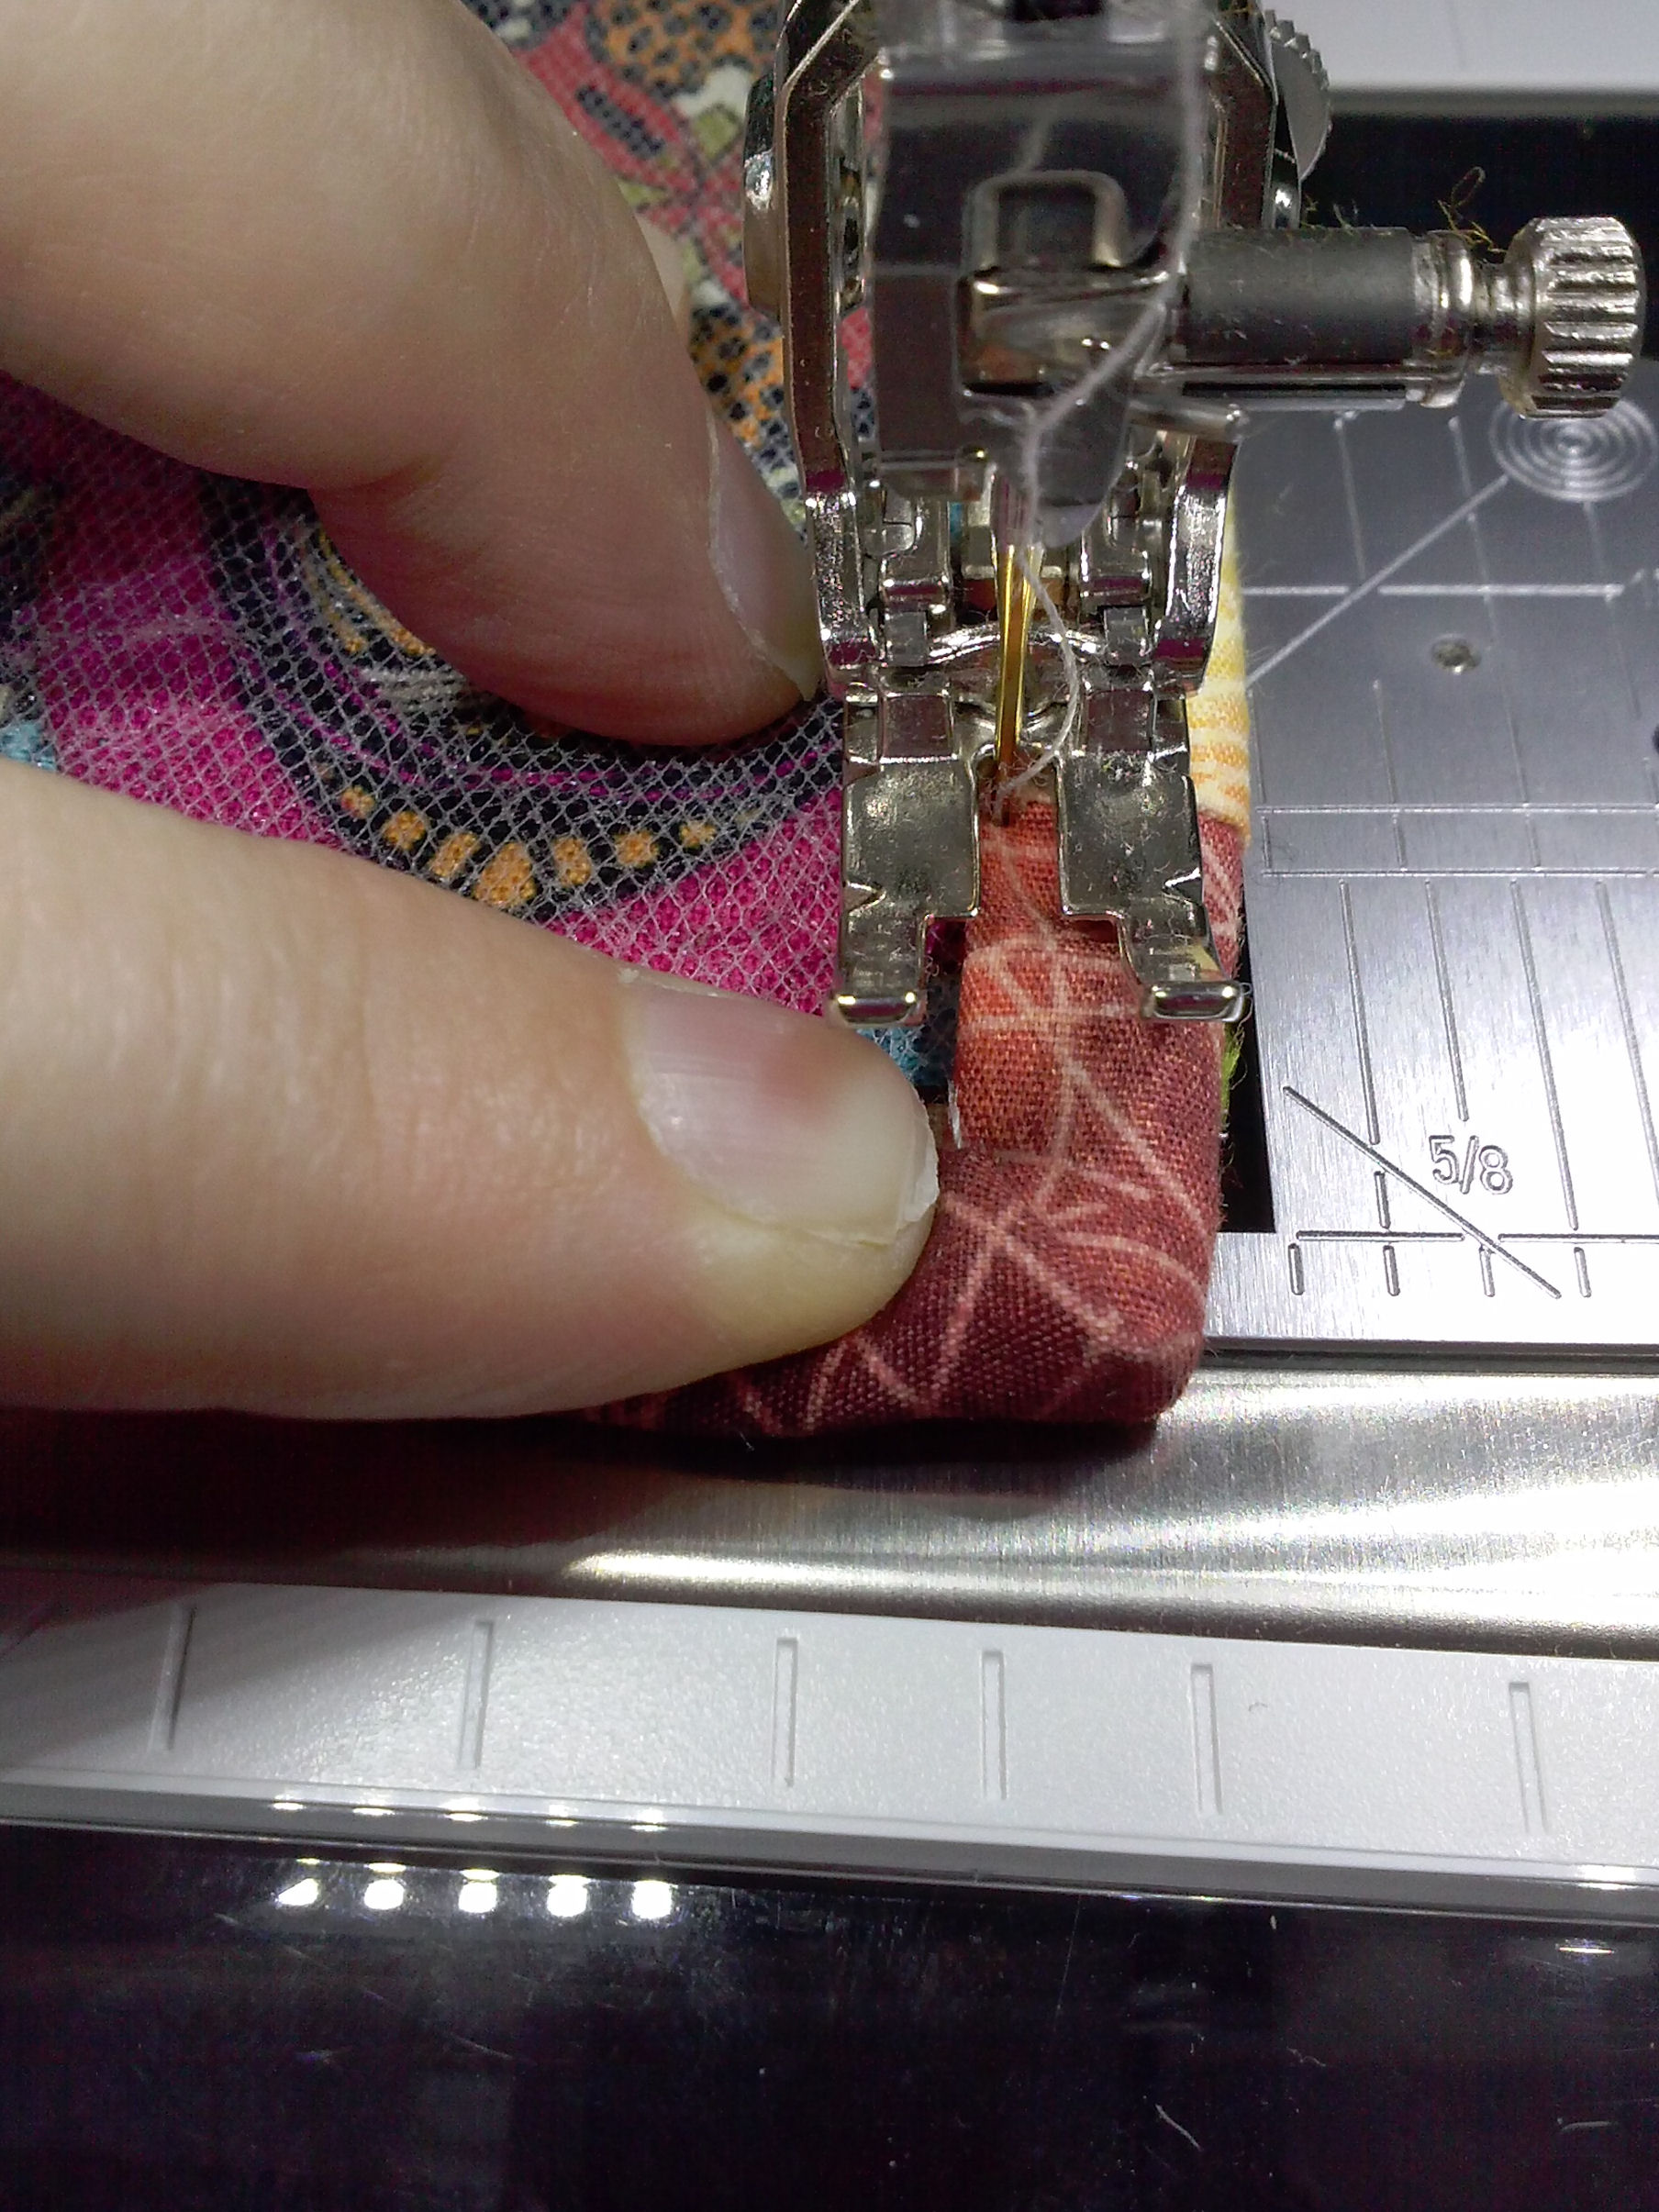
 You may notice here I’m not using pins. I like to give a wee tiny tug as I’m stitching. This snugs the binding and assures evenness as I pull it around to the other side.
I stop stitching 1/4 inch before the end of the quilt top and back-stitch 2 to 3 stitches. At this point I clip the thread and begin turning the corner. I could turn the corner without breaking the thread however this works for me and I’m going with it. And yes there are some quilters who stitch right off the end. I don’t. I find it hard to make the fold. If you like that please use it.
 With the BERNINA 37 foot its easy to stop in just the right place. The foot is notched at the needle center, 1/4 inch in front of that postion and 1/4 inch behind that position. I can see where I need to stop very easily. I can’t speak to any other brands quarter-inch foot.

 The fold is always a bit of a challenge and it’s hard without a second set of hands to get each step. There are a couple of things you want to watch for: 1) that the edges are lined up along each side; 2) that the fold edges line up and 3) that it lays flat. If any of these are off the binding won’t lay flat later. If you’re working on a competition quilt I do suggest using the 45 degree angle on your ruler to make sure the angle is right as well.

Once I turn the corner I rest the back notch of the presser foot on the edge of the quilt. This assures me I’m starting in the corner where I stopped. I take 2 stitches forward, 2 back and then stitch the rest of the binding on.
Once I’ve stitched the binding together and finished stitching it to the front of the quilt it’s time to stitch it to the back.
 For this part I like to use a stiletto or a bamboo skewer it does make it a lot easier to hold in place. My stiletto went awol in my studio so I just used my finger. There is the option of glue or 1/4 inch steam a seam to position the binding in place. Fold the binding over to just cover the stitching line. I stitch pretty slowly so making sure that the seam line is covered.
 When i get close enough to the corner I fold the binding to get that nice miter. If it’s being a bit of a pain I will fold the binding over a pin to hold it in place while I make my way to the corner. The stiletto comes in handy here as well, I can hold that miter tight as I approach the needle. I stitch right to the miter, turn on a slight angle, take one stitch to catch the binding on the turn, finish the turn and keep stitching.
 Here’s the finished quilt. Yes dear quilters the quilt looks a wee bit wonky however it is straight. One corner is off just a bit because a seam landed on it, making the corner challenging. Because this isn’t a competition or a piece I’ll show other than here I left it alone. If this piece looks vaguely familiar it’s an art piece I did for the Coursera Art class I did a while back. You can read more about it here: Wherein I copy Debby’s homework.
Please feel free to ask questions if you have them!
Happy Quilting,
Teri

I loved the dual feed feature on my Janome 7700, about the only thing I like about it!